How to Pack Kitchen Items for Moving Without Stress or Breakage
Hey there, I’m Sarah Mitchell, and I write for National Movers. Honestly, learning how to pack kitchen items for a move can feel like trying to solve a puzzle with pieces that are all greasy, sharp, or breakable.
How much will my move cost?
Let us help match you
Thank you!
Your movers will contact you shortly.

Written by: National Movers Team
NationalMovers team provides expert insights, mover comparisons, and practical resources to help you make informed moving decisions. Whether you need company reviews, relocation tips, or expert guidance, we’ve got you covered. Read more
Reviewed by: Sarah Mitchell
Meet Sarah Mitchell of National Movers: logistics pro, moving expert, and your go-to guide for stress-free tips, smart packing hacks, and honest advice.Read more
Last Update: 07/07/2025
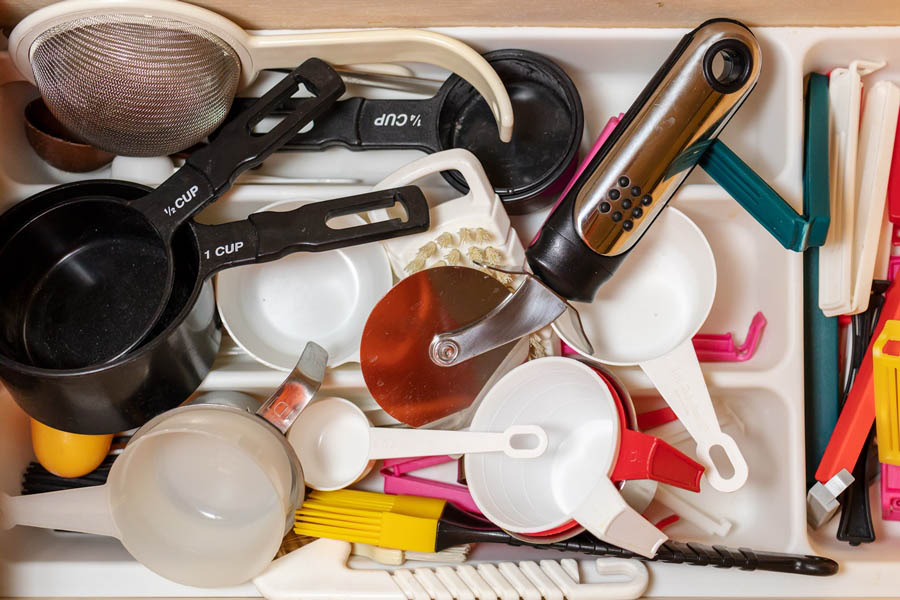
Knowing how to pack a kitchen is one of the most dreaded tasks on any moving checklist, and for good reason. It’s a room full of oddly shaped objects, fragile heirlooms, and things you need right up until the truck pulls away.
I’ve been there. During my big move from Seattle down to Charlotte, I swear my kitchen multiplied overnight. I had boxes of gadgets I hadn’t seen in years and a mountain of mismatched mugs. But after five moves of my own and a career in logistics, I’ve learned how to wrangle the chaos.
My goal is to help you get your kitchen packed up smoothly, so you can worry less about shattered plates and more about what color you’re going to paint the new living room. Let’s make this happen, y’all.
- Declutter First: Don’t move what you don’t need. It saves time, money, and space.
- Use the Right Supplies: Dish packs and small, sturdy boxes are your best friends.
- Pack Strategically: Start with non-essentials and save the daily-use items for last.
- Protect Your Breakables: Wrap items individually and pack plates vertically.
- Label Everything: Clearly mark each box with its contents and “FRAGILE” if needed.
- Prepare an Essentials Box: Keep your must-haves with you for the first 24 hours in your new home.
Best Overall Value Best Overall Value

- Nationwide availability
- Clear pricing, no hidden fees
- Premium door-to-door service
Need Help? Call Now
855-930-4575- Nationwide availability, over 25 years of experience, premium door-to-door service

- Reliable moving & Storage solutions
- Top-quality services, trained staff
- Reliable moving & Storage solutions, top-quality services, trained staff
Why Packing the Kitchen Is One of the Hardest Parts of Moving

So, what makes packing a kitchen such a bear? It’s not just you; it really is one of the most challenging rooms to tackle. First off, the sheer variety of items is mind-boggling. You’ve got everything from sturdy cast-iron skillets to delicate wine glasses, and they all need different packing techniques.
Then there’s the fact that it’s the heart of the home. You need your coffee maker, a plate, and a fork until the very last minute, which makes it impossible to pack up everything ahead of time. It often becomes a frantic, last-minute rush. Plus, kitchens are full of things that can spill, break, or go bad – think half-empty bottles of olive oil, spices, and that container of leftovers you forgot about.
It’s a mix of heavy, fragile, and essential items all rolled into one. No wonder it feels so overwhelming!
Supplies You’ll Need to Pack Your Kitchen Safely
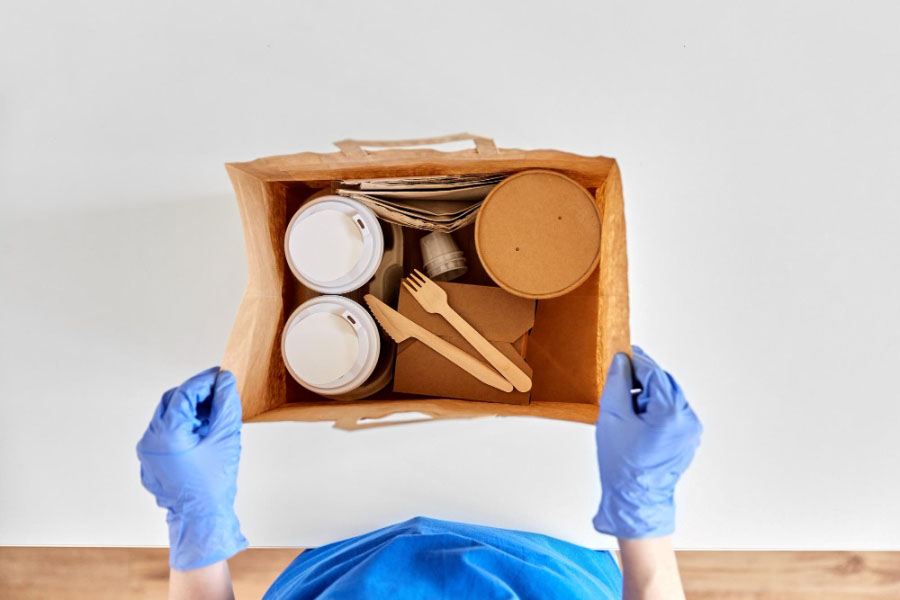
Before you even think about wrapping a single mug, you need to gather your supplies. Trust me on this – having the right tools makes all the difference. Scrambling for supplies mid-pack is a recipe for frustration. Here’s a rundown of what you’ll want to have on hand.
| Packing Supply | Purpose |
| Small & Medium Boxes | Essential for heavy items like dishes, cookbooks, and small appliances. Large boxes get too heavy, bless your heart. |
| Dish Pack Boxes (Cell Kits) | These are a game-changer. They have cardboard dividers that create individual cells for glasses, mugs, and stemware. |
| Packing Paper | Your best friend for wrapping everything. Get more than you think you need. Avoid newspaper, as the ink can transfer. |
| Bubble Wrap | Provides extra cushioning for super fragile items like your grandmother’s china or that fancy vase. |
| Packing Tape | Don't skimp here! Get a few rolls of strong, high-quality packing tape to secure the tops and bottoms of your boxes. |
| Permanent Markers | For labeling. You’ll want to be specific about what's inside and which room it belongs in. |
| Ziploc Bags | Perfect for corralling silverware, junk drawer contents, and preventing pantry items from spilling everywhere. |
| Plastic Wrap | Great for bundling silverware together or sealing the tops of liquid containers to prevent leaks. |
Get matched with the best mover for your needs!
Thank you!
Your movers will contact you shortly.
Step-by-Step Guide: How to Pack Kitchen Items for Moving

Alright, now that you have your supplies, let’s get into the nitty-gritty of packing kitchen for moving. The key is to have a system. Don’t just start throwing things in boxes. A little strategy goes a long way.
Find the perfect mover to fit your needs – get your free instant moving quote now!
932-465-6888How to Pack Dishes, Glasses, and Cookware
This is where the real art of how to pack a kitchen comes into play. It’s all about cushioning and proper placement. Here’s a quick-glance table to help you out.
| Item Type | Best Practice |
| Plates & Bowls | Place a plate in the center of a stack of packing paper. Pull a few sheets over the top, then place another plate on top. Repeat to create a bundle of 3-4 plates. Wrap the entire bundle and tape it securely. Always pack plates vertically (on their sides) in the box, not flat. This reduces pressure and prevents cracking. |
| Glasses & Mugs | Stuff the inside of each glass or mug with crumpled packing paper. Then, lay it on its side on a corner of your packing paper stack and roll it, tucking the sides in as you go. Place them in a cell box or a regular box with plenty of padding. Heavier items go on the bottom, lighter ones on top. |
| Stemware | Wine glasses are extra delicate. Stuff the bowl with paper, then wrap the stem with paper before rolling the entire glass. Place them upright in a cell box. Never lay them on their sides. |
| Pots & Pans | Nest smaller pots inside larger ones to save space. Place a sheet of packing paper or a dish towel between each one to prevent scratching. Wrap lids separately and stack them vertically in a box. |
| Silverware | Don't just dump it in a box. Bundle small groups of utensils together with a rubber band or plastic wrap, then roll the bundle in packing paper. This keeps them organized and prevents them from piercing the box. |
Labeling Your Boxes: Don’t Skip This Step
After all that careful wrapping, the last thing you want is for your box of delicate wine glasses to end up at the bottom of a stack in the garage. Labeling is your final, crucial step.
On the top and at least two sides of every box, write:
- KITCHEN
- A brief, specific list of contents (e.g., “Plates & Bowls,” “Pots & Pans,” “Small Appliances”).
- FRAGILE in big, bold letters on any box with breakables.
This not only helps the movers know where to put things, but it also helps you prioritize your unpacking. For a complete system, check out our guide on how to label moving boxes the right way.
What to Pack in Your Kitchen Essentials Box
This box will be your lifeline. It should be the very last box you pack and the very first one you open at your new place. Seriously, keep it in your car so it doesn’t get lost in the shuffle.
Here’s what I always put in mine:
- Coffee maker and coffee (non-negotiable!)
- A plate, bowl, mug, and set of silverware for each person in the family
- A good multi-purpose knife and small cutting board
- A frying pan or small pot
- Dish soap, a sponge, and a dish towel
- Paper towels
- Can opener
- Snacks and drinks for moving day
- Trash bags
Having this box ready means you can make a simple meal and have a cup of coffee without having to tear through a dozen boxes. It’s a small thing that makes a huge difference to your sanity.
Pack Your Kitchen the Smart Way
See? Packing kitchen for moving doesn’t have to be a complete nightmare. With the right supplies and a solid game plan, you can get it done efficiently and with minimal breakage. Start early, declutter like you mean it, and pack strategically. A methodical approach like this helps you avoid many common moving mistakes. Before you know it, you’ll be unpacking in your new kitchen, ready to make new memories.
FAQs About Packing Kitchen Items for Moving
Can I leave food in the fridge during the move?
For local moves, you might be able to transport some items in a cooler. For long-distance moves, it’s a definite no. Movers will not take perishable food. It’s best to empty and clean your fridge and freezer completely.
How early should I pack the kitchen?
Start packing non-essential kitchen items about 2-3 weeks before your moving day. The bulk of the kitchen will likely be packed in the final week.
Should I pack my microwave?
Yes! Clean it thoroughly, wrap the glass plate separately, and tape the door shut. If you have the original box, use it. Otherwise, a sturdy medium-sized box with plenty of padding will work.
Do I need special boxes for dishes?
You don’t need them, but I highly recommend them. Dish pack boxes (or cell kits) offer the best protection for your plates, glasses, and stemware. They are worth the small investment.
What's the best way to pack kitchen things?
The best way is to declutter first, use proper supplies, wrap everything individually, use small boxes for heavy items, and label everything clearly. Pack plates on their sides and create an “essentials” box for day one.
How to pack kitchen supplies so they're not heavy?
Use small boxes! It’s the simplest trick in the book. A small box filled with plates or canned goods is manageable. A large box filled with the same items is a back-breaker and more likely to break.
How many boxes to pack a kitchen?
This really depends on the size of your kitchen. A good estimate for an average kitchen is 10-15 small boxes, 5-8 medium boxes, and 2-3 dish pack boxes. It’s always better to have a few extra than to run out.
Should you wrap pots and pans when moving?
Yes, you should. Place a layer of packing paper or a dish towel between them to prevent scratches, especially if they have non-stick surfaces. Wrap the lids separately to prevent them from shifting and causing damage.